


The walk was going well until the fork. Two paths, both plausible, and nothing in memory to separate them. I took the left one, ended up in a conifer plantation that looked like every other conifer plantation, and walked forty minutes out of my way before admitting it. Back at the car I could remember the view from the top perfectly and the shape of the junction not at all. That is the gap a sketch map fills. Not the route you took, exactly, but the route as you experienced it — the split oak, the awkward stile, the boggy stretch after rain — drawn in pencil in about five minutes.
Why a Pencil Beats a Track
A phone will record your route to the metre and still leave you standing at the same fork next spring. A GPS trace is a line without judgement: it does not tell you that the right-hand path looks wider but dead-ends at a fence, or that the left one is the one you want when the ground is wet. A sketch map is a set of decisions written down while you still remember making them.
There is a second benefit, less obvious. Drawing forces you to look properly. You notice the way the path bends around a stand of birch, the ditch that separates two kinds of ground, the fact that the signpost has lost its arm. Walks you sketch tend to be walks you remember, because you paid attention to them rather than to your feet.
Set Up the Page Before You Set Off
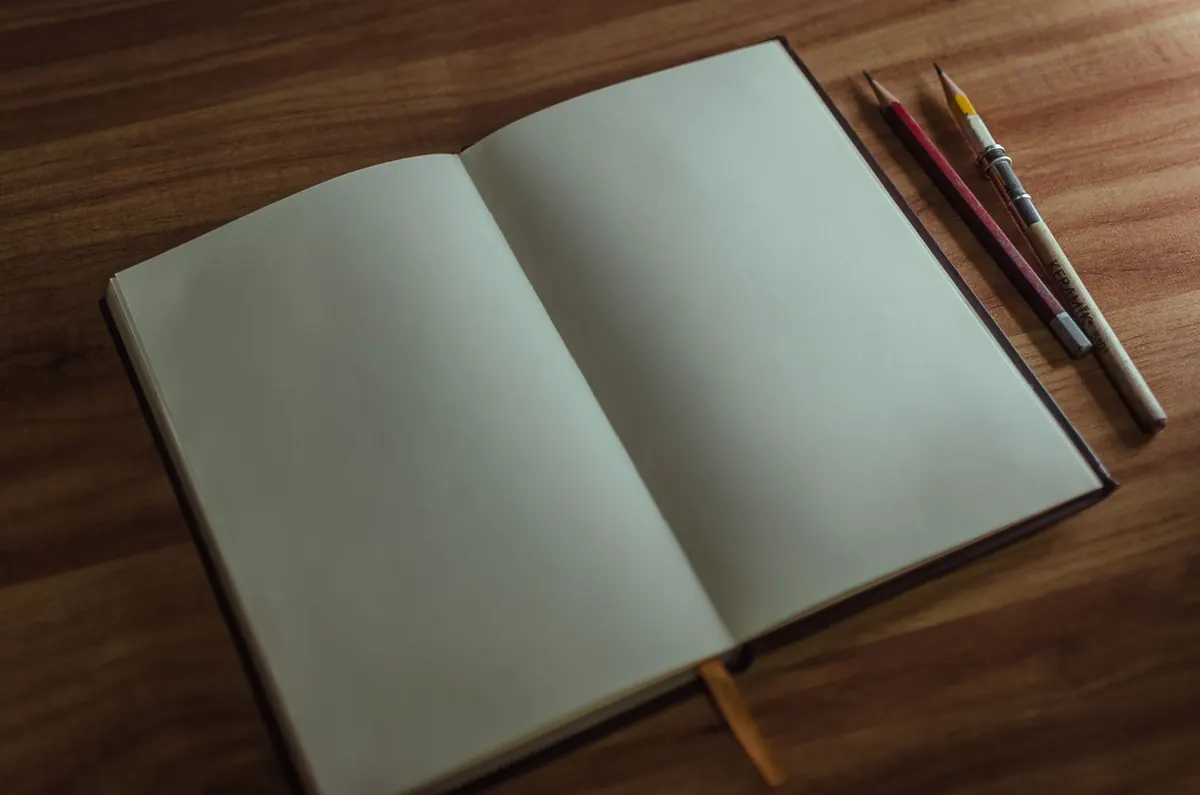
Keep the kit small enough that you will actually carry it. A hardback notebook about the size of your hand, an HB pencil, a small eraser, and a fine-liner for the final lines are plenty. Add a short ruler if you like straight edges; most people don't need one.
- Notebook with a hard cover — soft covers turn to pulp in a jacket pocket
- One pencil, sharpened, plus a spare stub
- Small eraser
- Fine-liner or a second pencil for labelling
- Watch or phone for rough timings
Before you leave the trailhead, put four things on the page: the date and weather, a north arrow, a mark for where you are standing, and a rough scale. For the scale, pace out a hundred steps along the first straight stretch and decide that this distance equals, say, the width of two fingers. It doesn't need to be accurate. It only needs to be consistent, so that the map you draw in June can be compared with the one you draw in October.
Draw big. Beginners cram a two-hour walk into a quarter page and end up with a grey smudge. Half a page is not too much. Leave a wide margin on one side for notes and a clear corner for a legend.
The Skeleton, Then the Landmarks
Draw the whole route first as a single continuous line — start to summit to finish — with no detail at all. Include the bit where you turned round in the car park and the loop at the viewpoint. Mark the start with an S and the end with an E. Only when that line exists should you go back and add anything.
Three tests for a good landmark
A landmark earns its place on the map if it passes all three: it is visible from the path, it is unique along that stretch, and it will still be there next season. A stone bridge passes. "The nice view" fails on all three. A bench fails the third test more often than you'd think.
Reliable things to draw: gates and stiles, footbridges and their material, big trees with a distinctive shape or fork, ponds and streams, walls and hedgerows, pylons, cairns, ruined buildings, and the corners of fields. Anything that depends on foliage, farming or a temporary sign is worth a note but not a symbol.
Keep the symbol set tiny
Six symbols are enough for years of walking: tree, gate or stile, water, building, junction, and a dotted line for a habitat boundary. Draw them once in the corner of the page with a one-word label and use them the same way every time. A map you can read at a glance in the rain is worth more than a beautiful one you have to decode.
Junctions Deserve the Most Care
If you only slow down in one place, make it the junction. Draw the angle honestly. Three paths meeting roughly evenly should look like that; a side path peeling off at a shallow angle should be drawn shallow, because that shallow angle is exactly what confuses people coming back the other way.
Count the exits and label each one with a short phrase rather than a number: left, downhill to the stream; straight on, climbs to the field gate; right, grassed-over track — ignore. Note anything deceptive. Old vehicle tracks and forestry roads often look more like the main path than the main path does, and that is precisely the information you will want next time.
When you reach a junction, turn round and look back the way you came before you draw it. Sketching the junction from the return direction takes twenty seconds and saves a wrong turn later.
Sketch the Habitat, Not Just the Path
You don't need to identify a single species to record habitat. Broad categories are enough: open broadleaf wood, conifer plantation, coppice, heath, marsh, meadow, clear-fell, young planting. Draw the boundary of each patch you walk through and hatch it lightly — short vertical lines for conifer, stippling for open ground, wavy lines for water and wet ground.
The edges matter most. Where a plantation meets a meadow, or a stream cuts under a hedge, is where you tend to see and hear the most. Mark those transitions clearly and add a plain-language note: very wet underfoot after rain, bluebells here in spring, thrush singing from the far corner. A year of those notes turns a route map into a small record of a place, and gives you a reason to walk the same path in a different month.
A sketch map is a letter to your future self, written in a shorthand only you need to read.
Notes That Make the Map Worth Keeping
Use the margin for the things that don't fit on the line: time taken, where you stopped, what the ground was like, who was with you, what you'd do differently. Set up a small private code and stick to it — an arrow for a direction of travel, an asterisk for something worth returning to, a question mark for anything you couldn't work out. That question mark is often the most valuable mark on the page, because it is the thing you'll go back to check.
When you get home, while the walk is still fresh, redraw the map cleanly on a fresh page. Copy the date, the weather and the shape of the route, tidy the junctions, and add one sentence at the bottom: next time, take the left fork and follow the stream to the bridge. The rough page stays in the notebook as a working record; the clean copy is the one you'll actually use.
If you are walking somewhere remote, or on ground where conditions change fast, a sketch map is a useful companion to a proper map and compass — not a replacement. Carry both, and know how to use them.
A Five-Minute Habit at the Trailhead
Start small. One page, one walk, five minutes of drawing spread across the whole outing. Before you set off, write the date, draw the north arrow and mark the first junction you expect to meet. While you walk, stop at each junction for twenty seconds and sketch the exits. At the end, add one sentence about what you'd do differently.
Do that on four or five walks and you'll have a small atlas of your own local woods, drawn in your own hand, with your own notes in the margins. The second sketch of the same route always takes half as long as the first, and by the third you'll find you're drawing junctions you haven't even reached yet — which means you've started to learn the shape of the place, not just the way through it.
Photo: Edeltravel_ / Pixabay
Related posts
More stories you’ll love reading